Lab 1: Create and configure Azure resources
Task 1: Open the Azure portal
On the taskbar, select the Microsoft Edge icon.
In the browser window, browse to the Azure portal (portal.azure.com), and then sign in with the account you'll be using for this lab.
Note: If this is your first time signing in to the Azure portal, you'll be offered a tour of the portal. Select Get Started to skip the tour and begin using the portal.
Task 2: Create an Application Insights resource
In the Azure portal, use the Search resources, services, and docs text box at the top of the page to search for Application Insights and then, in the list of results, select Application Insights.
On the Application Insights blade, select + Create.
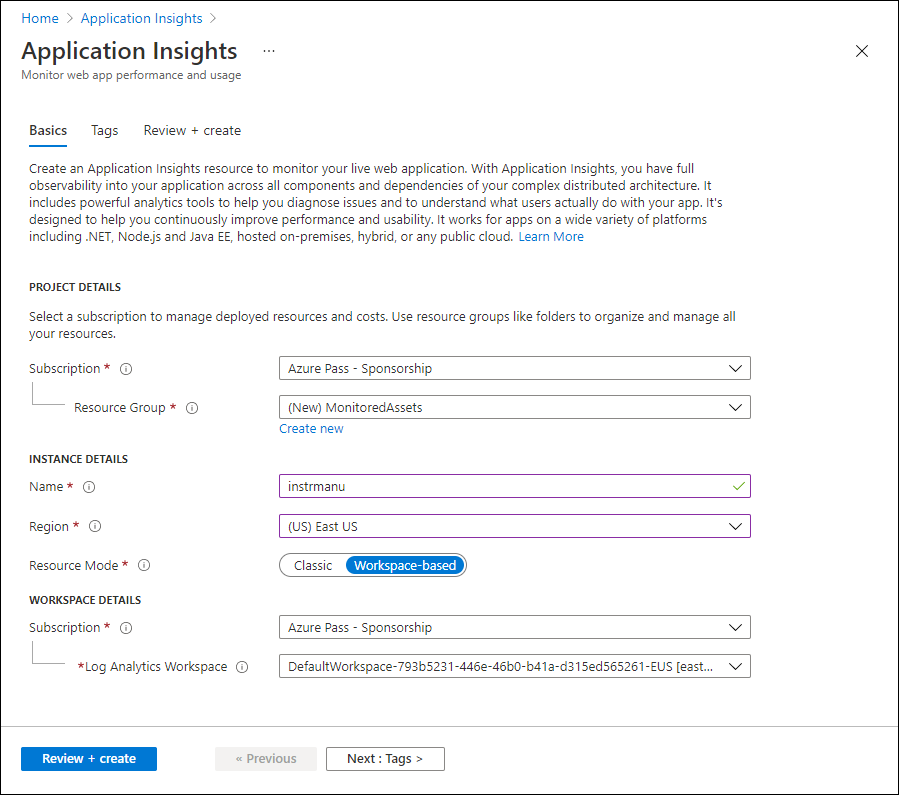
On the Application Insights blade, on the Basics tab, perform the following actions, and select Review + Create:
| Setting | Action | | -- | -- | | Subscription drop-down list | Retain the default value | | Resource group section | Select Create new, enter MonitoredAssets, and then select OK | | Name text box | instrm[yourname] | | Region drop-down list | Select any Azure region in which you can deploy an Azure Service Bus | | Resource Mode section | Select the Workspace-based option | | WORKSPACE DETAILS section | Retain the default values for the Subscription and Log Analytics Workspace drop-down lists |
The following screenshot displays the configured settings on the Application Insights blade.
On the Review + Create tab, review the options that you selected during the previous steps.
Select Create to create the Application Insights instance by using your specified configuration.
Note: Wait for the creation task to complete before you proceed with this lab.
On the Microsoft.AppInsights | Overview blade, select the Go to resource button to navigate to the blade of the newly created Application Insights resource.
On the Application Insights blade, in the Configure section, select the Properties link.
On the Properties blade, next to the Instrumentation Key entry, select the Copy to clipboard button, and then record the copied value. You'll use it later in this lab.
Note: The key is used by client applications to connect to a specific Application Insights resource.
Task 3: Create an Azure Web API resource
In the Azure portal, use the Search resources, services, and docs text box at the top of the page to search for App Services and then, in the list of results, select App Services.
On the App Services blade, select + Create.
On the Create Web App blade, on the Basics tab, perform the following actions, and then select the Monitoring tab:
| Setting | Action | | -- | -- | | Subscription drop-down list | Retain the default value | | Resource group drop-down list |Select MonitoredAssets | | Name text box | Enter smpapi[yourname] | | Publish section | Select Code | | Runtime stack drop-down list | Select .NET 6 (LTS) | | Operating System section | Select Windows | | Region drop-down list | Select the same region you chose as the location of the Application Instance resource | | App Service Plan section | Select Create new | | Name text box | Enter MonitoredPlan, and then select OK | | SKU and size section | Retain the default value |
On the Monitoring tab, perform the following actions, and then select Review + Create:
| Setting | Action | | -- | -- | | Enable Application Insights section | Ensure that Yes is selected | | Application Insights drop-down list | Select the instrm[yourname] Application Insights resource that you created previously in this lab |
On the Review + Create tab, review the options that you selected during the previous steps.
Select Create to create the web API by using your specified configuration.
Note: Wait for the creation task to complete before you proceed with this lab.
On the deployment Overview blade, select the Go to resource button to navigate to the blade of the newly created Azure web API.
On the App Service blade, in the Settings section, select the Configuration link.
In the Configuration section, perform the following actions:
a. On the Application settings tab, select Show Values to display secrets associated with your web API.
b. Note the value representing the APPINSIGHTS_INSTRUMENTATIONKEY key. This value was set automatically when you built the web API resource.
On the App Service blade, in the Settings section, select the Properties link.
In the Properties section, record the value of the URL link. You'll use this value later in the lab to submit requests to the web API.
Task 4: Configure web API autoscale options
On the App Service blade, in the Settings section, select the Scale out (App Service Plan) link.
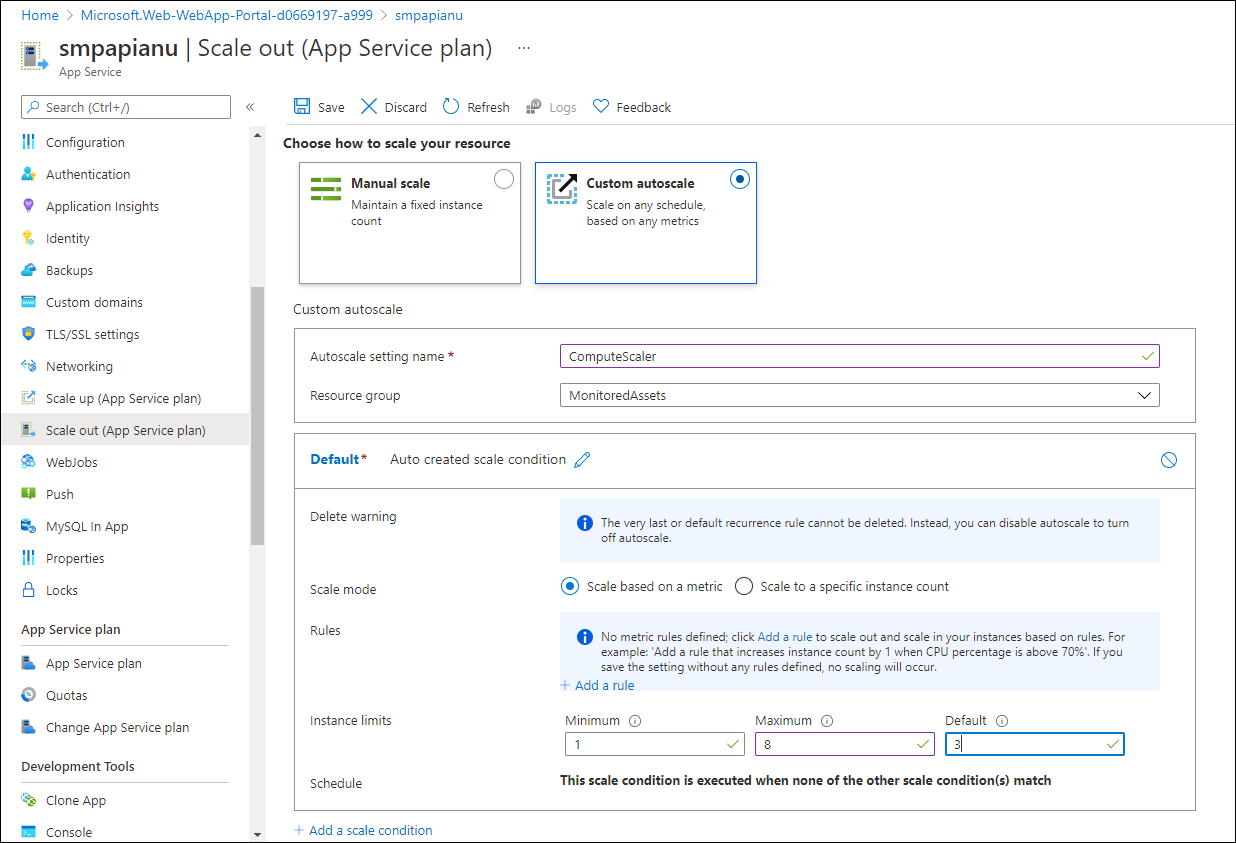
In the Scale out section, perform the following actions, and then select Save:
| Setting | Action | | -- | -- | | Scale out section | Select Custom autoscale | | Autoscale setting name text box | Enter ComputeScaler | | Resource group drop-down list |Select MonitoredAssets | | Scale mode section | Select Scale based on a metric | | Minimum text box in the Instance limits section | Enter 1 | | Maximum text box in the Instance limits section | Enter 8 | | Default text box in the Instance limits section | Enter 3 |
The following screenshot displays the configured settings in the Scale out section on the App Service blade.
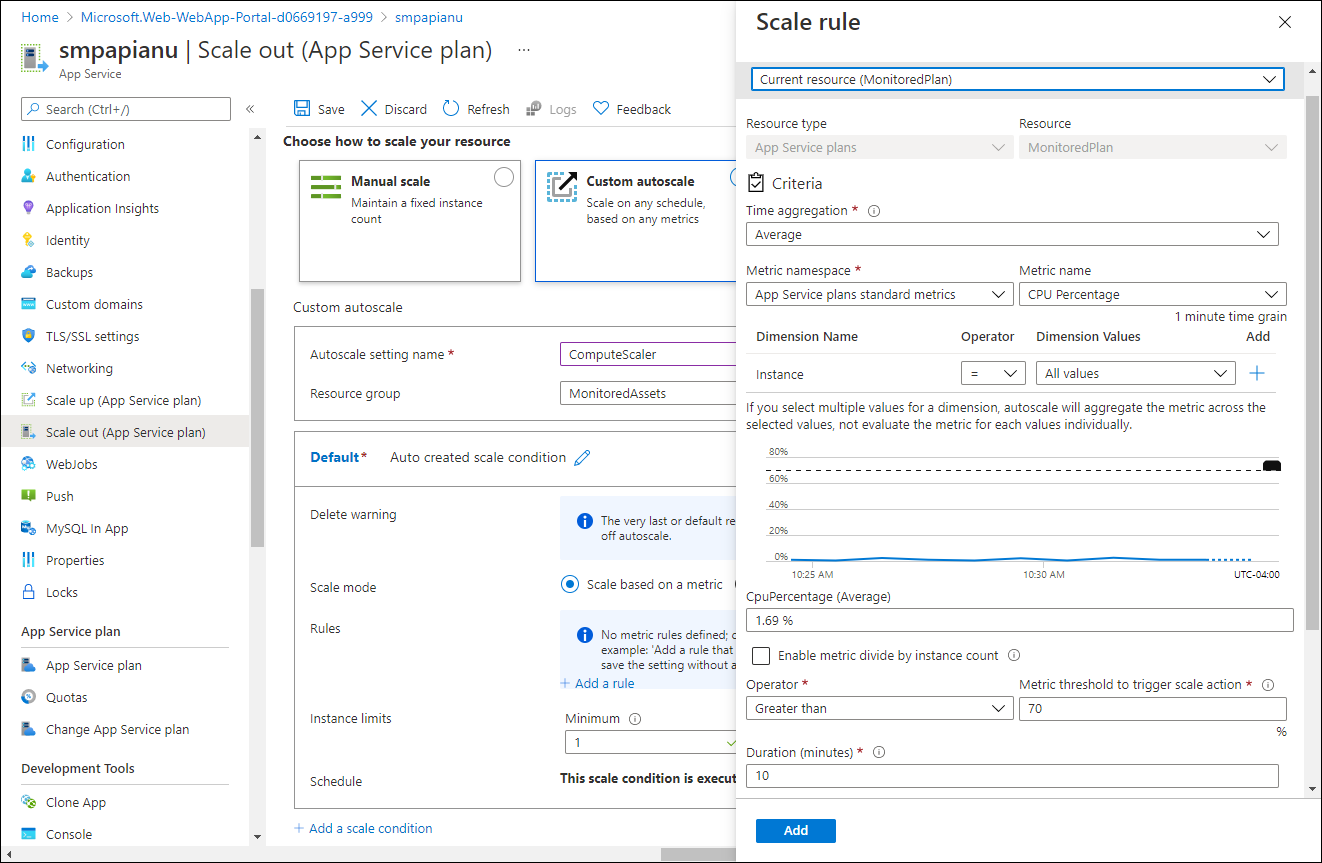
| Setting | Action | | -- | -- | | Rules section | Select Add a rule | | Scale rule blade | Retain default values for all settings, and then select Add |
The following screenshot displays additional settings in the Scale out section on the App Service blade.
Note: Wait for the save operation to complete before you continue with this lab.
Review
In this exercise, you created the Azure resources that you'll use for the remainder of the lab.