Lab 2: Upload a blob into a container
Task 1: Create storage account containers
On the Storage account blade, select the Containers link in the Data storage section.
In the Containers section, select + Container.
In the New container pop-up window, perform the following actions, and then select Create:
| Setting | Action | | -- | -- | | Name text box | Enter raster-graphics | | Public access level drop-down list | Select Private (no anonymous access) |
In the Containers section, select + Container.
In the New container pop-up window, perform the following actions and then select Create:
| Setting | Action | | -- | -- | | Name text box | Enter compressed-audio | | Public access level drop-down list | Select Private (no anonymous access) |
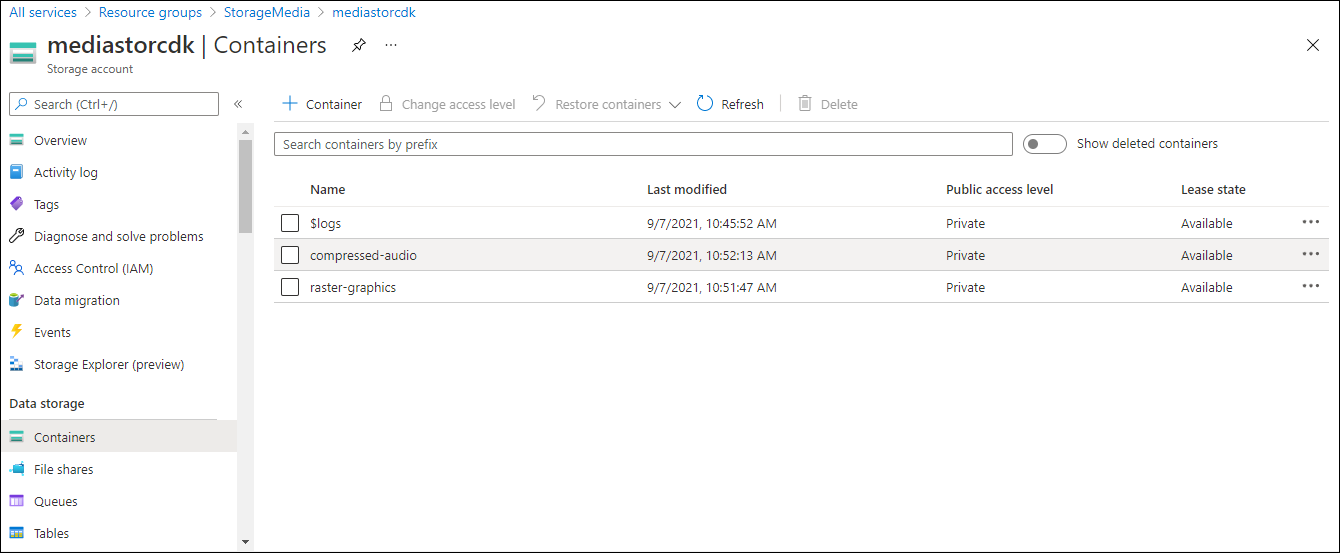
In the Containers section, observe the updated list of containers.
The following screenshot displays the configured settings on the Create a storage account blade.
Task 2: Upload a storage account blob
In the Containers section, select the recently created raster-graphics container.
On the Container blade, select Upload.
In the Upload blob window, perform the following actions, and then select Upload:
| Setting | Action | | -- | -- | | Files section | Select the Folder icon | | File Explorer window | Browse to $HOME\training-az204\Labs\03\Starter\Images, select the graph.jpg file, and then select Open | | Overwrite if files already exist check box | Ensure that the check box is selected |
Note: Wait for the blob to upload before you continue with this lab.
Review
In this exercise, you created placeholder containers in the Storage account, and then populated one of the containers with a blob.